>
When visiting the Halifax Seaport Farmer’s Market I was looking through the product at Noggins Corner and was shown their new dried apple and pear chips. We were discussing the uses for them and I decided that they had to be put into a muffin. So into the kitchen I went to try to produce a creative tasty muffin using the dried apples and I am thrilled with the results.
 I love cooking with high quality dried fruit. I am not talking about the rubber textured chemical laden crap that is out there posing as heath food (beat down coming on foodthug.com), I mean fruit dried without chemicals and at the lowest temperatures possible. In all fairness I have to mention that Superstore has a great selection of dried fruit in their organic section and though it can be pricey it is worth the money. I have my problems with Superstore but their organic section is worth a long look. Using dried fruit can help you get your daily dose of fruit while still maintaining a high level of nutrition and is a much better choice than fruit juice for those of us battling weight.
Proper dried fruit has all the flavor and most of the nutrition of the fresh item but can be fortified with more flavor but rehydrating it in flavored liquid. This make is an amazing taste treat. For this recipe I have rehydrated dried apples with a combination of calvados (apple brandy) and apple cider along with half a stick of cinnamon. This really kicks up the flavor of the dried apples.
I added this to a basic oatmeal muffin base that uses yogurt to reduce the amount of oil required added in a little more calvados and kicked up the level of cinnamon. I am very pleased with the results and hope you will be as well.
Ingredients
1 bag of Noggins dried apples (about 1/4 cup)
1/3 cup
1/3 cup apple cider
1/2 a cinnamon stick
Dry Muffing Ingredients:
1 cup of oatmeal
2 Cups Whole White Flour (Speerville Mills)
(If you cant get a whole white flour use 1.5 cups unbleached white and 1/2 whole wheat)
1 tbsp baking powder
1/2 tsp baking soda
1/2 tsp salt
2/3 cup brown sugar
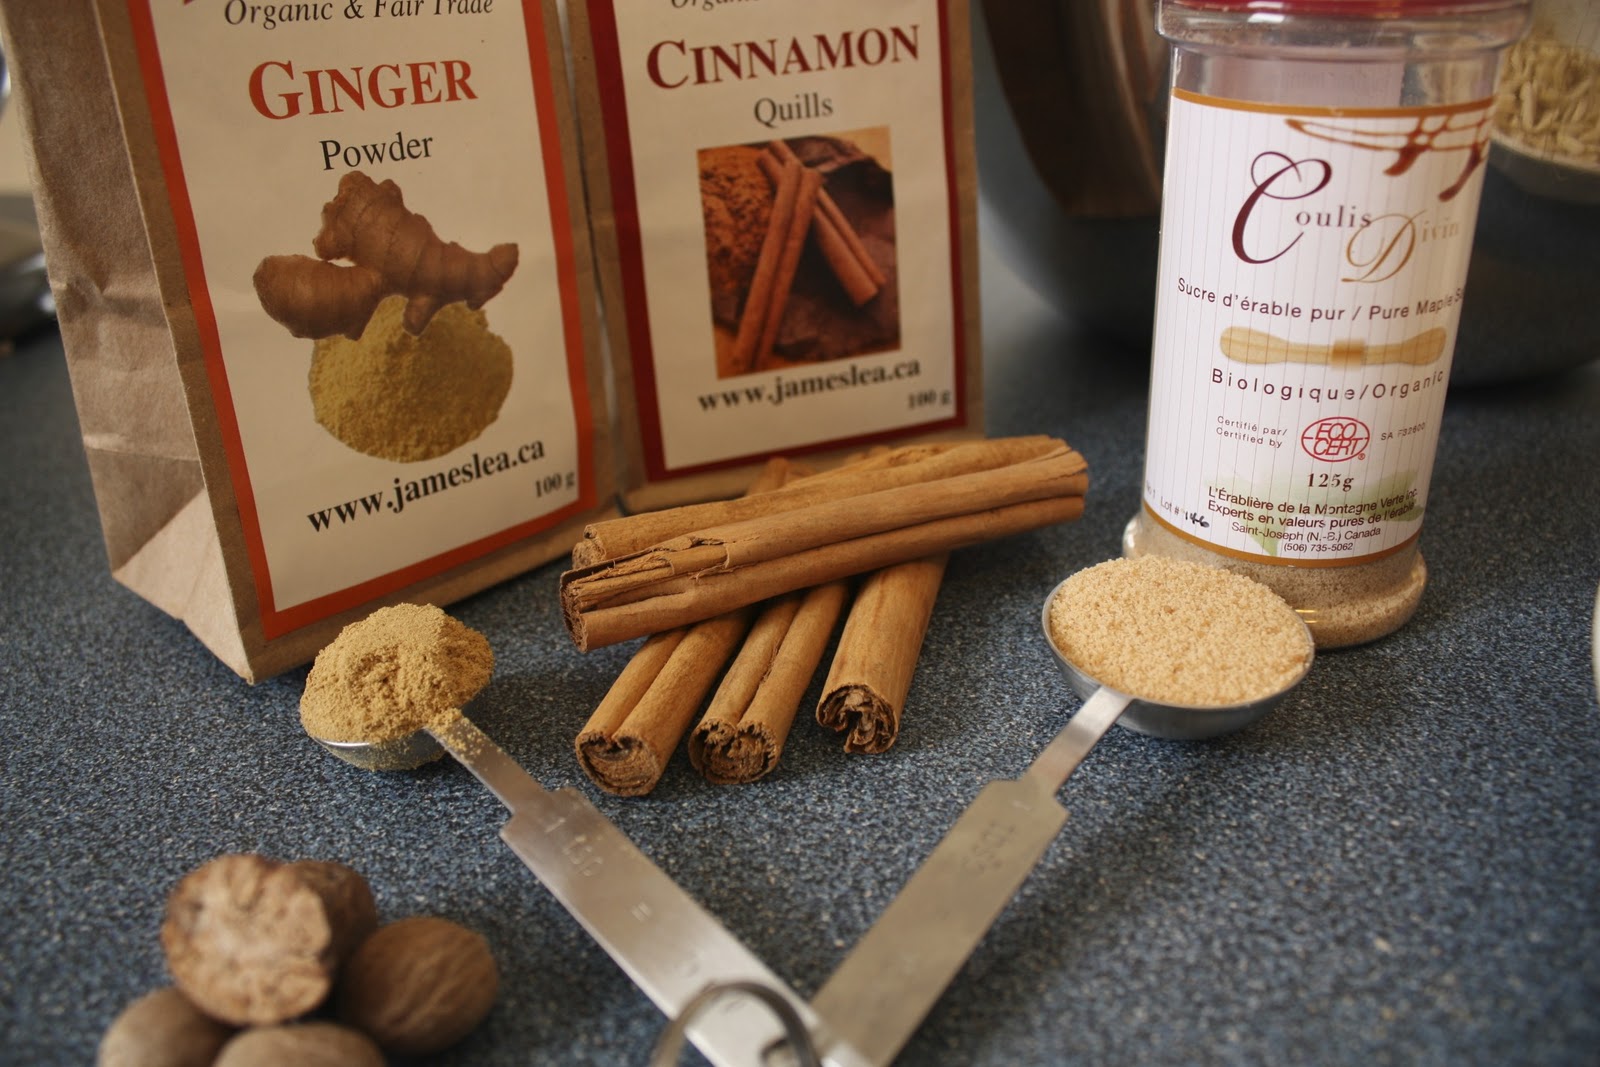
1 Tbsp cinnamon
1/2 tsp nutmeg
Wet Muffin Ingredients:
2 eggs
1/2 cup canola oil
2 Tbsp Calvados
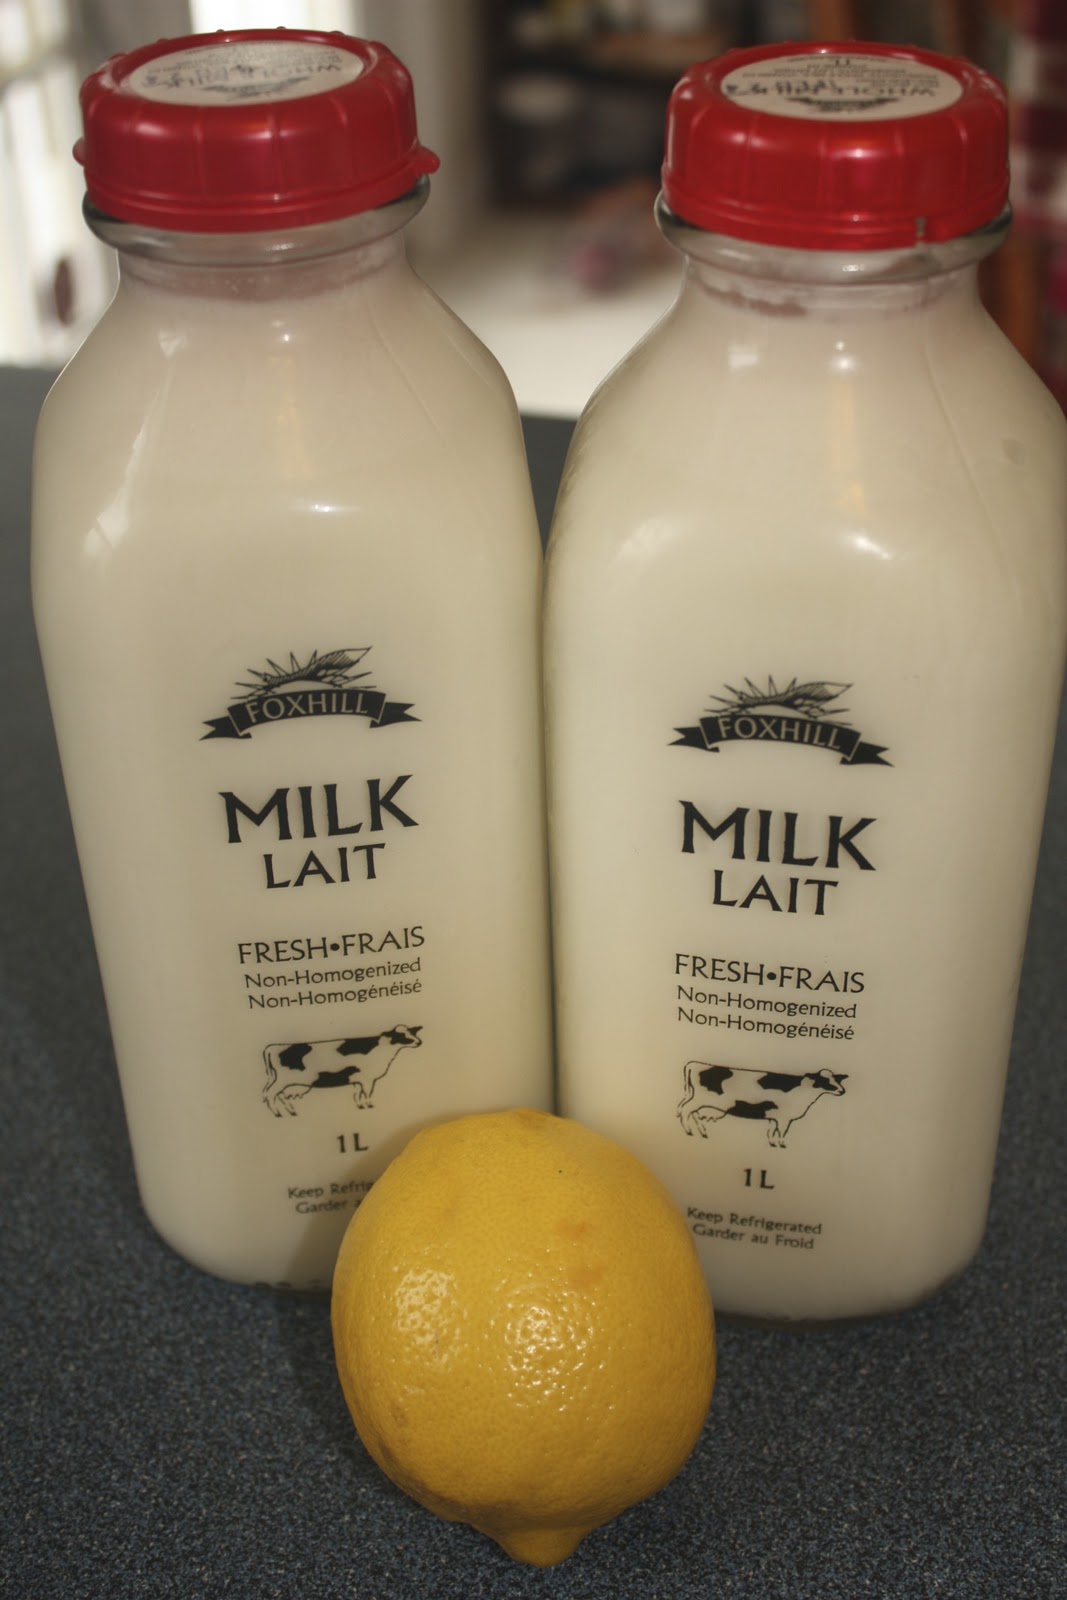
1 1/2 cups plain yogurt
2 tsp vanilla
To prepare the dried apple:
Place the apples, cinnamon stick, cider and calvados into a small pot and warm on low heat. If you have a warming element place it on there and allow to sit until the liquid is absorbed. This can be done ahead of time and then stored in a covered container until needed. Be sure to remove the cinnamon stick when this step is done.
To prepare the muffins:
Preheat your oven to 350 degrees.
Place the oatmeal in a large bowl. Sift in flour, baking soda and baking powder (this help aerate the flower and prevents lumps of baking soda or baking powder which can ruin a muffin experience.) Stir these together well to combine flavors.
 Note: You will want to mix your dry ingredients well to distribute the spices. Once we add the wet ingredients will will only mix to combine. Stirring flour in liquid builds gluten which is great for bread but makes tough chewy muffins.
Place the wet ingredients into a bowl and whisk together until well combined and frothy.
Add the wet ingredients into the dry ingredients, and stir until combined. Make sure you get right down to the bottom of the bowl. The batter will be lumpy don’t over stir or you will end up with bouncy muffins and we are not cooking for McDonalds ;). Fold in the prepared apples and then spoon into a oiled muffin tin. This will make a dozen regular muffins.
Bake in the oven for 25 to 30 minutes. The muffins should be golden and a tooth pick inserted in the middle should come out clean.
Thanks to My Local Suppliers:
Dried Apples : Noggins Corner Farm Market
Apple Cider: Suprima Farms
Eggs: Elmridge Farm
Cinnamon: JamesLea – Bio foods International
Oatmeal / Flour: Speerville Mills
Yogurt: Fox Hill Cheese House