A Spicy Local Beef Burger for @SweetAmyRae


I was looking for a little culinary inspiration last week and tweeted out asking for suggestions about what I should cook.  Amy Sears (@sweetamyrae) came back suggesting a hamburger that was spicy with something crunchy on it.  That was just the ticket and I was off to the kitchen.

I am fortunate to have a great supply of Getaway Farm ground beef in my freezer.  I gave up on factory food ground beef about a year ago when I requested a food safety inspector check out the use of frozen beef in Superstore ground beef.  This beef packaging was not labeled as previously frozen and I thought the practice was inappropriate. A fellow foodie (Susie the Foodie – her link is to the left) recently tried to get clarification from Superstore about their ground beef and could not get a clear answer either.  Unfortunately this has not as of yet lead to changes but I am still in discussions with meat inspectors to see if we can get labeling changes.  Though I think their behavior is reprehensible I am thankful for them pointing me the way to local food.  Had they produced a quality product I would have never found the bounty I enjoy today.

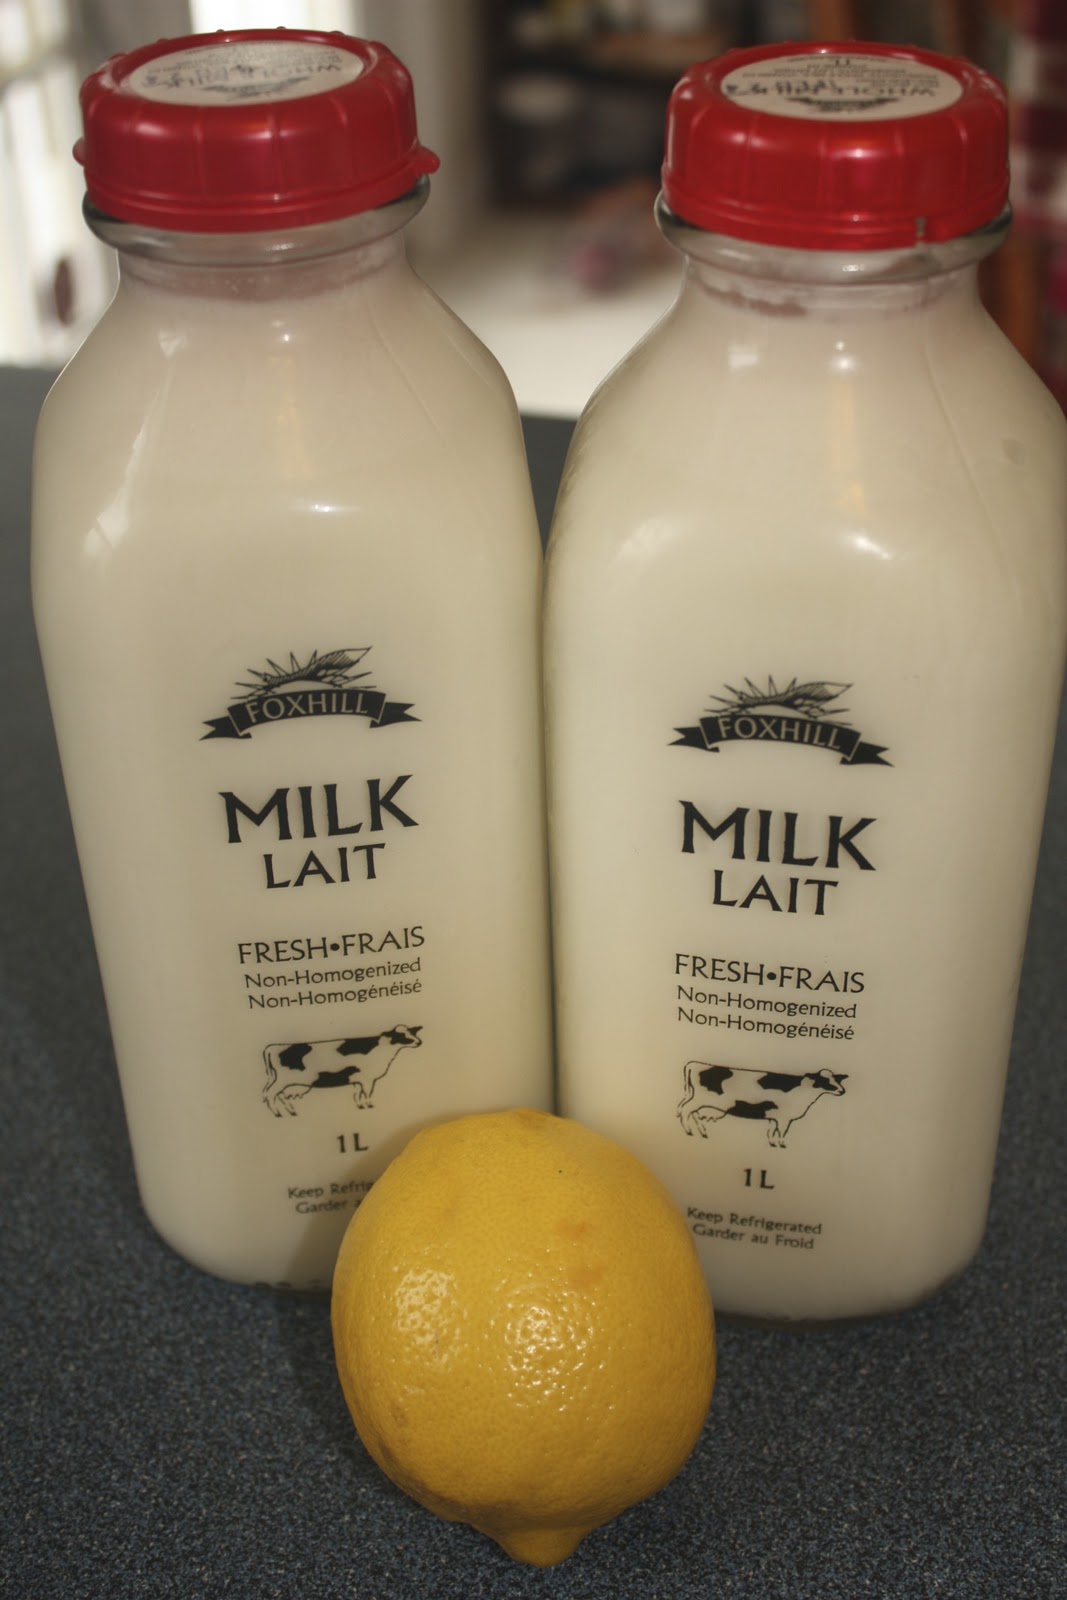
If you have great beef as your base you need to do very little to it to make a great burger.  To a half pound of beef I add 1/2 tsp of salt, a half dozen turns of fresh ground black pepper and a tsp of worcestershire sauce. Mix the beef well with your hands and form into patties.  Cook the beef in a very hot pan in a little grape seed oil.  The sear adds flavor and locks in juices, brown well on both side.  The patty should be cooked to a temperature of 160 degrees.  Place a thin slice of medium cheddar on the burger.  I used Fox Hill Cheese for this burger.

I placed this burger on a homemade bun which I made using a Fresh Crusty Sandwich Rolls – Mexican Inspired” href=”https://timskitchentable.wordpress.com/2010/12/11/fresh-crusty-sandwich-rolls-mexican-inspired/” target=”_blank”>bun recipe I blogged out earlier.  The only change I made to it was I a did not use an egg wash and shaped the buns differently.  To shape a hamburger bun roll a 2.5 oz ball flatten with the palm of your hand and then allow it to rise.  The rest of the instructions are the same as in the original recipe.

To add a spicy element I wanted a sauce.  I have seen a number of hot pepper mustard sauces so I wanted to make my own.  I roasted off 2 habaneros 3 serranos and a hot cherry pepper.  I put them into the blender with 1/2 cup of yellow mustard and 1/2 of a cup of apple cider vinegar, and 2/3 of a cup of sugar.  Blend until smooth then strain through a fine mesh strainer to remove any skin and seeds.  Bring this to a boil and add a Tbsp of honey.  I then mixed together equal parts of oil and flour to a bowl and added 2 tsp of this mixture to the sauce to thick it, stir and then remove from heat and allow it to cool.  This got spread on the top bun of the burger.

To add some brightness I tossed some fresh spinach with my fig and vanilla aged balsamic and put that on top of the cheese.  You can make a vinaigrette with 1 part vinegar 2 parts oil, 1 part honey and a splash of vanilla.  To finish the burger I made some fresh cut fries and crispy onion strings.

To make the fries cut potatoes into fries and then in 325 degrees blanch them until they just start to brown.  Don’t over crowd the oil do in smaller batches. Drain the fries off and allow to completely cool.  Heat the oil up to 390 degrees.  Add the fries back into the oil and cook till golden brown.  Drain on fresh paper towel and then salt right away with fine sea salt.

To make the onion strings peal the onion, cut in half and slice each half into thin slices.  Break the strings apart and coat them in lightly salted flour.  Drop them in the hot oil for a few seconds until browned, this does not take long at all but they are delightfully crisp and yummy and really add to the burger.

Thanks to My Local Providers

Beef :                                               Getaway Farms

Potatoes and Veggies :              Noggins and Taproot CSA

Cheddar Cheese:                         Fox Hill Cheese House

Home Cured Ham… All the flavour none of the chemicals


I have always loved the holiday meal.  Matters not the holiday, the opportunity to dig deep and prepare a special meal the celebrate an occasion has always been something to look forward to.  There have been some fantastic cooks in my family, meals at special occasions have always been memorable and I try to emulate the same honest home cooking that was found at my grandparents table.

Since I started my journey away from factory foods I challenge myself to use food that is as unprocessed as possible.  With it being Easter I found myself looking at how I could get away for the highly processed ham that we find in our local factory food outlet.  Pork is a great meat and I really enjoy it, and ham is right under bacon in the my pork pantheon.  The problem with this is that the commercial version of these meats is loaded with sodium and even worst nitrate and other chemicals.  As with anything else I figured there has to be a better way.

In the fall I purchased a side of pork from my friends at Active Life Farm.  I got the belly cured into bacon for me as I don’t have a smoker …. YET … but I took the legs uncured.  I thawed a leg out and started researching how I could cure a ham, and the results were spectacular.  Thanks to Active Life for making this amazing Berkshire pork available to me, it was the highlight of my Easter Sunday meal.

When curing meats you will need salt and flavor.  The salt is used not only to add salty yumminess to the meat but to also allow osmosis to draw in the other flavors and moisture from the liquid.  You can be as creative as you want with the curing liquids as long as you remember the salt and sugar are required.  Without the salt and sugar to draw the flavor deep inside the meat you will just flavour the outside and that is what the glaze is for.

Here is how I cured my Easter Ham:

Brine:

6 Liters of Water

4 Cups of course salt

2 Cups of demerara sugar

1 Cup of maple sugar (optional – can replace with 1 cup demerara sugar)

1 Stick of cinnamon

6 Whole cloves

5 sage leaves

6 black pepper corns

1.5 tsp red chili flakes

Glaze:

1/2 cup brown sugar

1/2 cup maple syrup

2 Tbsp of Whole Grain Mustard

1 tsp cinnamon

1/4 tsp grated nutmeg

1/2 tsp sage

Combine all ingredients in a large stock pot, bring to a simmer and stir until all of the salt and sugar is done.  A number of brine recipes will say you are done at this point but I cover and allow it to steep on low heat for 30 to 40 minutes.  I want all of the flavor in the herbs and spices to infuse the liquid.  A note on my sugar selections.  I wanted to impart subtle flavors to the ham so I chose demerara sugar (a very rich dark brown sugar) and maple sugar.  I wanted the various subtle notes from those sugars in the meat.  I would use the demerara sugar which is readily available every time, the maple sugar I was able to get a good deal on but if you don’t have an affordable local provider don’t spend a fortune on it, it can be very expensive.

Allow the brine to cool then refrigerate until it is cold.  Do NOT put the meat in the brine until it is cold (under 4 degrees C or 40 degrees F).  You do not want to have the meat in a warm water, that will encourage bacteria growth and cook the meat. Always brine in cold water.

To prepare the ham for brining, score the skin and fat in a diamond pattern on all sides.  Do not cut into the meat but cut through the fat and the skin, this will allow brine penetration.
When the brine is cold, place the meat in it and completely submerge.  you can put a couple plates on it to weigh it down.  Brine for about 16 hours, no more than 24 hours it will be over salty.

When the ham has been brined remove from the water, discard the brine and rinse the ham off removing the excess salt from the surface of the ham.  If you bake it without rinsing you will have a salt crust, the purpose of the salted brine was to draw moisture and flavor into the meat, we will flavor the outside with a glaze.

Place the ham on a roasting rack in a pan and place into a 500 degree oven for 20 minutes.  This will sear the outside of the ham locking in the juices and adding flavor.  This is done unglazed which is important,  if you try to glaze the ham at a high temperature or to early you will burn the sugar.

After 20 minutes reduce the oven to 350 until the internal temperature reaches 145 degrees.  This will take about 2 – 3 hours depending on the ham.  Temperature is the only true indicator of meat being done.  Time is only the roughest of estimates, if you want juicy meats that are safe to eat, use temperature.

After 20 minutes at 350 spread a layer of glaze over the ham, reglaze every 20 minutes until the ham reaches the desired temperature.  When you get to 145 remove the ham from the oven and tent in aluminum foil for 30 minutes.  The ham will go up about another 10 degrees in temperature, it is still cooking after it come out.

After the meat is rested slice and serve with the remaining glaze to be used as a sauce.

I accompanies the ham with a walnut dressing (walnuts, olive oil, sage, honey and balsalmic with salt and pepper), mashed skin on red potatoes, honey glazed carrots and a gratin of Jerusalem artichokes.

Thanks to all my local suppliers:

Berkshire Pork Leg : Active Life Farms

All vegetables : Tap Root and Noggins Corner 

Honey: Cosman and Whidden Honey

Milk: Fox Hill Cheese House

Berkshire Pork Chops with Apple Chutney, Roasted Potatoes and Beet Salad


I had a great trip to California and while I was there ate amazing local California food.  Now that I am back I am rededicated to eating our great Nova Scotia local food.  I received my first CSA boxes last week and it was waiting for me when I got home.  I have had a few great meal out of it and will be getting another box today to add to it.

In my first box there were some baby red potatoes and baby beets.  I boiled these both so they would be ready to use for preparing a quick meal.  For those who are not familiar with cooking beets here are a couple quick tips.  First of all you want to boil them while, do not trim them (well trim the greens of course) and boil them until fork tender.  Adding a little vinegar to the water will help the beets hold their color.  When done let them cool, trim them and then peal them with the edge of a paring knife.  You may want to wear gloves to keep your hands from turning purple :).  These beets can then be used in a number of dishes.

I also like to boil up the potatoes until just fork tender, maybe a little hard in the middle.  I will then use these to make roasted potatoes, potato salad or breakfast hash.  By doing this prep work it makes it very easy and fast to add vegetables to your meals.

I used the beets and potatoes for supper that night.  I thawed a couple of Berkshire pork chops and had those with an apple chutney, roasted potatoes and a beet salad.

The pork chops were just seasoned with salt and pepper and fried off.  Berkshire pork is so flavorful it does not need much.  However to make it great you need to get a good sear on it.  This caramelizes the outside creating flavor and locks in the juices.  To do this heat the pan on high heat, use grape seed oil because of the high smoke point.  When you lay the chops in do not keep lifting them, let them sit undisturbed until golden brown, look under every couple minutes to check, then flip once.  The pork then should be allowed to rest for 5 to 10 minutes to allow the proteins to relax and draw the moisture back inside.

I served this with the following sides (Serves 2 you can scale it up):

Cinnamon Apple Chutney

Ingredients

2 Apples – Diced

2 Tbsp – Dried Currents

1 tsp cinnamon

2 Tbsp brown sugar

2 Tbsp Apple Brandy

2 Tbsp Apple Cider

pinch of salt

While the pork is resting take the hot pan with the drippings in it and add in chopped apples, dried currents, cinnamon and brown sugar.  Saute these off until browned then add in apple brandy and apple cider.  Allow this to cook down until tender and use this to top the pork chops.

Roasted Baby Potatoes 

Ingredients

6 baby red potatoes

2 tsp Olive Oil

pinch of sea salt

2 turns of pepper

1 tsp minced sage leaf (fresh is best)

To roast the potatoes I just heat the oven to 425, in a bowl toss the potatoes with olive oil, sea salt and black pepper and a little bit of snipped sage leaf.  Roast the potatoes for about 15 minutes or until they start to brown.

Baby Beet Salad

Ingredients

10 baby beets boiled, pealed and diced

3 tbsp Olive Oil

1 tsp nut oil (walnut, sesame seed or Argan)

1 tbsp Balsamic vinegar

1 tsp honey

1/2 tsp mustard (whole grain is best)

salt and pepper to taste

2 Tbsp sesame seeds (toasted)

Dice the beets and place into a mixing bowl.  In a small bowl whisk together the olive oil, nut oil, vinegar honey and mustard.  This makes a nice dressing.  A note here, you can use any oils and vinegars you like, the ration is 3 to 1 oil to vinegar.  The mustard helps to bring the oil and vinegar together (emulsification) and after that just flavor away.  It is very simple, just use good products and fresh herbs.

I then added the dressing to the beets until it was dressed to my liking, I had some left over that will be destine for a spinach salad.  I then toasted the seseme seeds over medium heat in a small no stick pan until they just started to brown.  Keep them moving while doing this, they do burn fast.  Add these to the salad and serve.

The great thing with local food is with a little creativity you can make great tasting healthy meal in a very short time.  With the potatoes and beets boiled ahead of time this whole thing took 30 minutes.

Thanks to my local suppliers:

Pork Chops :                                                                   Active Life Farm

Beets, Potatoes, Sage, Apples, Apple Cider:          Taproot and Noggins CSA 

Homemade Chorizo Sausage – A Mexican Treat


I have a few recipes I want to share with you that use chorizo sausage.  Fresh chorizo is a key ingredient in mexican and south western American cooking.   It adds great richness and flavour to dishes and I really enjoy it.  As with all ground meat products I prefer to know what I am eating.  For this reason I make most of my sausage meat at home, though there are a couple providers a the Halifax Market I trust and am hoping to visit to watch them in action.

I have already put up recipes for making homemade breakfast sausage and italian sausage.  Chorizo is just another variation of that.  The base is a good ground pork and then add some amazing seasoning and allow to sit over night.

Ingredients:

1.5 pounds of ground pork (Berkshire pork of you can get it)

1 Tbsp Paprika

1 tsp sea salt

2 cloves of chopped fresh garlic

1 tsp cayenne pepper (increase or decrease based on your desire for heat)

1 tsp cumin (toast the seeds in a dry pan then grind for best results)

1 tsp oregano

1 tsp mexican chili powder

1/4 tsp cinnamon

1.5 Tbsp White Wine

In a large bowl spread out the pork as thin as possible.  Sprinkle half the spices over the pork, mix well.  Spread out again and repeat.  Mix well.  Add in the white wine and stir.  Cover and refrigerate for a couple hours, overnight is best.

This fresh sausage can be use in any recipe calling for chorizo.

Special Thanks to my local supplier Active Life Farm for providing me with amazing Berkshire pork and fantastic local garlic.  They made this Chorizo special.

Corned Beef, An Flavour Treat using Local Beef


Salt meat has been around for centuries, it has been a very long standing traditional method of preserving meat.  Corned Beef is actually salt beef, the corn comes from the type of salt (corning salt) used to cure the beef.  What we call corn actually got the name because the kernels are the size of the salt used to corn beef.  No wonder I couldn’t find the corn it when I was a kid.  I looked pretty hard.

So with freezing, refrigeration and other modern preservation methods why would we salt beef.  Taste of course.  As the salt is drawn into the beef it also draws in water and any favours dissolved in it.  This means that using the corning method we can infuse beef with moisture and well as flavor.  Commercial corned beefs are loaded with nitrates which are needed to preserve the meat.  When made at home you can leave this out, you wont get the pink color but you will get all of the taste and it wont last long enough to go bad.  Canned corned beef… yeah well we wont go there.  I will not criticize the use of nitrates, if we want commercial cured meats this is needed, but find someone who uses it in moderation.  However mystery meat in a can, yeah lets not.

Corned beef is made from brisket.  Brisket a cut from between the front legs, in the chest area of the cow.  It support more than half the weight of a moving cow so the amount of connective tissue requires it to be cooked in a very specific manner to keep it tender.  It needs to be cooked low and slow and if possible in a moist environment.  Another method of cooking brisket is smoking it for hours at a low temperature.(which I will leave to my good friends at Boneheads BBQ until I can get a smoker).

I got my beef for this recipe from Getaway Farms in the Annapolis Valley.  They are a great local option for grass fed beef.  Their beef are free range in the summer and they take special care in how they preserve the grass to feed them in the winter.  They are so proud of how they treat and feed their animals they even had a bag of the grass they feed there cows at the market for me to smell.  It was like spring in the middle of winter.  This beef is more lean, and much better for you than grain fed factory beef, and the flavor is amazing.  It made great corned beef.

When choosing your beef you want it to be sure it is fresh, deep red and you want the fat cap trimmed back.  You want a good amount of lean surface area, don’t trim all the fat but much of it.  If the beef is previously frozen or really oxidized (brown) I would not try to use it for this.  Too much risk of existing bacteria.  You want fresh beef.

Here is how I make my Corned Beef:

You will need:

One Piece of Beef Brisket (3 – 4 pounds)

Dry Rub

3 Cloves

5 pepper corns

2 tsp coriander

1 tsp mustard seed

1 allspice berry

Take the above ingredients and dry toast them in a skillet until they warmed, do not burn them.  Place them in a spice grinder with:

6 red pepper corns

1/2 tsp dried red chillies

1/2 tsp cinnamon

1/4 tsp thyme

1/2 tsp sage.

Grind until all spices are broken up and then spread evenly over the entire brisket.  Wrap in cling wrap and place in the refrigerator for 4 hours.

Once the beef is in the refrigerator you need to make the brine.

In a large dutch oven combine:

20 cups of water

2 cups course salt

1/2 cup of brown sugar

1 tsp mustard seed

1 tsp black peppercorns

10 whole cloves

10 juniper berries

2 sticks of cinnamon broken in half

1/2 tsp mace

1 tsp red pepper

1 tsp ginger

2 tbsp corriander

1 bulb of garlic cut in half

Bring the mixture to a boil and stir to dissolve all the salt.  Then allow the mixture to cool to the point where you can put it into the refrigerator.  Do not put the meat into this mixture until it is cold.  You do not want the beef stewing in warm water, this is really not safe and could cause food-born illness.

When the mixture is cold and the beef has rested with the dry rub for 4 hours place the beef into the brine.  The brine needs to cover the beef.  If it down not put a couple bowls on top of it to weigh it down.

Let the beef sit in your refrigerator for 7 to 10 days.  No it will not go bad, that is what the salt is for.  I will however absorb all of that amazing spice and flavor making the best corned beef you have ever had.

After the 10 days remove the meat from the brine and discard the brine.  Rinse the beef under cold water to clean off the excess salt.  Now put the beef in your dutch oven with the following:

3 carrots rough chopped

3 stocks of celery rough chopped

1 Onion pealed and rough chopped

1 bottle of beer (I used Garrison Jalapeno Beer.. amazing)

4 or 5 sprigs fresh thyme

Water to cover the corned beef by an inch.

Heat 1 tbsp of grape seed oil in a pan, sear off the brisket on all sides.  Then add the rest of the ingredients.

Bring to a boil then simmer over low heat for 2.5 to 3 hours or until fork tender. Remove from the water and let cool.  Then you can slice it across the grain for sandwiches, cut it into chunks for hash or use it in any of your favorite corned beef recipes.  I really enjoyed this one.

Thanks again to my local providers:

Brisket: Getaway Farms

Garlic: Active Life Farms

Herbs: Riverview Herbs

Beer: Garrison Brewery

>Ricotta Cheese with Fox Hill Milk


>

I love italian food.  Can’t get enough of it.  I have already given you a recipe for a great tomato sauce, and now I will show you how to make ricotta cheese.  Ricotta is used as a filling for ravioli or other stuffed pasta, it is used in lasagna and is also fantastic for making all kinds of desserts.  You can get ricotta in the stores but trust me this is much better.  It is so soft, smooth, and creamy.  It has a clean rich flavor that can’t be matched by the cheese you get at your local factory food outlet.
This recipe uses 2 L of Fox Hill milk and will yield about half a pound of ricotta.  It is very simple to do and it will be worth the effort.  If you do not use Fox Hill Milk then you will need to as about 3/4 cup of cream into the mixture to get a nice rich ricotta.  I have made this a number of times and I can tell you honestly tell you using Fox Hill’s milk results in the best ricotta that I have had.  It only makes sense as the more natural the product the better the results will be.
I will be using this cheese in several recipes I will blog later but this will go great in any recipe you have that uses ricotta cheese.  
Ingredients
2 L Unhomogenized Milk or 2 L Whole Milk and 3/4 cup cream
1/4 cup fresh squeezed lemon juice
1 tsp salt
Cheese Cloth (this will be required to drain the cheese)
Add the milk and salt to a heavy bottom pot or dutch oven and heat the milk to 180 degrees.  Be careful to not let the milk boil.  Make sure you put the thermometer into the milk deep enough to get an accurate reading.  When the milk is to temperature add in the lemon juice and gently stir it in one or two stirs, do not aggressively stir because you do not want the curds to be broken up.  
Turn the heat to low and allow to cook for 15 minutes longer.  Again do not let it come to a boil.  After 15 minutes turn off the pot and cover.  Allow to sit for about 30 minutes to an hour or until you see the curds formed and the liquid separating.  You will see the milk curdle when you add the lemon juice this is not what you are looking for.  You want the milk solids to really form up or the liquid will not strain off.

When this is completed line a colander with several layers of cheese cloth.  Slowly pour the mixture into the cheese cloth and allow to drain until all of the liquid has passed through.  (About 30 min to an hour).  You can then take the cheese and put it in a storage container and refrigerate or use it right away.  It will stay fresh 2 to 3 days.
Special thanks to Fox Hill Cheese House for making such a wonderful product.